Pages

Showing posts with label lotd. Show all posts

Tuesday, March 31, 2015

Golden Glow

Namaste people!

I hope you have checked out my new youtube channel. If not then please visit and SUBSCRIBE :)

Today's look is called Golden Glow. It is a beautiful combination of gold and orange and is just perfect for summers. This look doesn't only go well with western dresses but will compliment Indian attires equally well.

So, do try this out and let me know how it turned out.


Here are some pictures:


Don’t forget to LIKE, SHARE and SUBSCRIBE!!

Connect with me on:
Facebook: https://www.facebook.com/pages/Beauti...
Instagram: kanikajusta
Twitter: Bfulandblsd
Pinterest: https://www.pinterest.com/kjusta/
Blog: http://beautifullandblessed.blogspot.in/

We will meet soon. Until then Stay Beautiful and stay blessed.

Lots of Love!


Friday, March 27, 2015

Iridescent Green Smokey eyes

So my first video is finally up on the Youtub channel. I hope you guys will like it.
Please click on the link below and watch it on youtube

https://www.youtube.com/watch?v=pPb1WvqO3cM

Also, don't forget to SUBSCRIBE. COMMENT and LIKE. It would make my day!!

Lots of love!


Connect with me and make me a happy bunny ^__^
Facebook: Beautifull & Blessed
Instagram: kanikajusta
Twitter:BfulandBlsd
Pinterest: KanikaJusta

Thursday, December 25, 2014

Christmas LOTD

Merry Christmas!! I hope all of you are enjoying the holidays and the winters. My family is here with me nowadays, hence I did not post much in the last few days. It has been a really long time since I did a LOTD. So, here I go with my christmas-y look. Enjoy the pics and don't forget to comment below. :)


1. Start off with a clean moisturized face. I first primed my lids using the Garnier tinted roll on. I applied it all over the lids, taking it out upto the brow bone.

2. Taking a matt brown eyeshadow, I applied it all over the crease, diffusing it outwards. Make sure this brown shade is just a shade or 2 darker than your skin tone.

3. Take another matt brown color. This time 2-3 shades darker than the first one and using a pencil brush apply in it the outer 1/3rd of the lids, creating an outer V. Now blend this color out. Make sure just to blend out the edges and don't take this color too far.


4. Taking another matt brown eyeshadow (darker than the 2nd one) create one more V in the outer 1/3rd area of the lid. Keep this V even more concentrated and it should be smaller than the last V that we created. Blend it out lightly without taking the color too far.

5. Next take a matt black shadow and apply it in the extreme outer part of the eye lid. Again create a V and blend out the edges. Make sure to use a pencil brush for applying the black shadow and go easy with it as we don't want to go very dark. Blend it out for a softer look.

6. We used so many browns, just to add dimensions to the whole look. Using just one color would have made the whole look very flat. Since I am using silver on the eyes (which is a cold color), I decided to add some warmth using a red shade. So, I took a matte red color and lightly swirled a fluffy blending brush over it. Then I swept it over the crease area very light handedly.

The key is to go very very easy with this red shade, else you may end up looking sick.

7. Using shimmery silver eyeshadow, I applied it on the center of the lids. Layer the color as per your desired intensity. Then use a light brown eyeshadow to blend out the colors again.

8. Using the same 3 brown shades that I used on the eyelids, I used them on my lower lash line. Applied them all along the lash line, leaving out just the inner corner. Apply the same silver color below your brow bone.

9. Then I used Lakme Eyeconic Kajal on my upper lashline and smudged it using a matt brown eyeshadow and winged out the liner into the black V that I had created.

10. Then I applied mascara on my lashes. I used Miyo Big Fat Smokey Lashes Mascara. Don't forget to fill and shape your eyebrows.


11. Finally I applied Ponds BB cream and set it with Makeup Revolution translucent powder.

10. Concealed my under eyes using Makeup Revolution concealer palette and set it with powder.

11. Finally I lightly contoured my cheeks using a matt brown eyeshadow from the Makeup Revolution Make Believe palette and applied Oriflame VeryMe bronzer on the cheeks.

12. I finished off with a red lipstick(Fire Desire) from Coloressence.

Here is the final look:


Products Used:

Saturday, September 27, 2014

LOTD: Blue Smokey eyes with pink lips

Happy Navratri to all of you. May Goddess Durga shower you with love and her blessings. No, today I am not doing a traditional look. Instead I had been itching to do a blue smokey eye for a long time but never actually got down to putting up a post. So, finally I went ahead with it. Follow the steps below to achieve the final look.


1. Start off with a clean and moisturized face.

2. Prime your eye lids as well as the brow area. I used Garnier tinted roll on.

3. Next, I took Lorea’l Infalliable eyeshadow in 006 All Night Blue and applied it all over my eye lids. It is a beautiful dark blue color with lots of blue and some silver specks of glitter. Do not go beyond your crease. Once you are done with patting the color on your lids, use a clean blending brush to blend out the edges into the crease area. Working with a dark smokey eye can be very tricky. You don’t want to go overboard with the dark colors that you end up looking gothic or you don’t even want to end up too light that it doesn’t really look like a smokey makeup.

4. Repeat the 3rd step 2-3 times till you get the desired intensity of color.

5. If needed use dark brown and even black eye shadow to smoke out the color on to the outer crease area. I used both these colors since I was not happy using just the blue shade.

6. Tightline your upper and lower lash line and smudge them for a softer look. I used Lakme Eyeconic Kohl in Black. Smudge the lower lashline using the same blue shade used on your lids.


7. Apply mascara on upper as well as lower lashes. I used Maybelline Hypercurl Volume Express.

8. For highlighting my browbone I used a shimmery silver eyeshadow from an ELF palette. Don't forget to clean you under eye from any fall outs.

9. Fill and shape your brows using dark brown eyeshadow.

10. Conceral your under eyes. I used Garnier tinted roll on.


11. Next, I applied Lakme Absolute mousse foundation and contoured my face and applied a pink blush.

12. I ended with a light pink mauve color on the lips. I used Mtv MUAH pop LG-05 and Revlon colorburst Lip crayon in Unapologetic.

Here is the final look. Hope you guys like it. I will soon be back with another fun makeup post. Let me know if there is anything specific you would like to see.


Monday, September 8, 2014

EOTD/FOTD: Greens and Berries

Hello People!! After a long time I am back with a makeup look. Yeah it has been long...really long!!
So, as we are approaching fall I am reaching out more towards deeper colors for my lips. I am totally digging deep berry, deep reds, violets, plum shades these days.

Onto the look now, I have obviously used a deep berry shade. I absolutely lurrve this color on me.

Let’s get started.
1. Start off with a cleansed and moisturized face and prime your lids. I used Garnier tinted roll on. It gets the work done for me.
2. Take an olive green eye shadow with black, brown and grey hints and apply it all over your eye lid. It was a metallic olive green sort of a color. (If it even exists!!). Blend the edges well with a blending brush.

3. Take a matt dark brown eye shadow, put it in your crease and blend it out, focussing more on the outer crease.

4. Now take a lighter brown color and diffuse the dark brown eye shadow up into the crease with it. This will help in giving a soft smokey look and will pull the whole look together.

5. Take a black eye shadow on a pencil brush and put it on your outer eye socket, creating a V. Blend it out. You can pack some more black eye shadow(if needed)to build up the intensity.

6. Take a beige golden shade and apply it to the center of the eye lid and blend it properly. Make sure not to cover your entire lid with it. Add just a tiny dot in the center. This would give more dimensions to this look.

7. Apply eye liner/kohl on your upper lash line and smudge it for a softer look.
8. Tight-line your upper lash line.
9. Apply mascara to your upper lashes.


10. Take the same metallic olive green eye shadow and apply it on the outer 1/3rd lower lash line and blend it nicely.
11. Now take the same dark eye shadow we used in 3 and go over the green eye shadow that you just applied on your lower lash line. Take this dark brown color upto ½ of your lower lash line, leaving just a little bit more than the inner tear duct area.
12. Take a champagne colored eye shadow and highlight the tear duct area.
13. Apply mascara to the lower lashes as well.
14. Take any highlighting color and highlight your brow bone. I took a silvery white highlighting color.
15. Conceal your under eye and set it with a powder. I again used Garnier tinted roll on and a BB cream.
'

16. Next, I applied Ponds BB cream all over my face and set it with Lakme rose powder.
17. Applied some bronzer on the hollow of my cheek bones followed by a mauve colored blush on the apples of my cheeks.
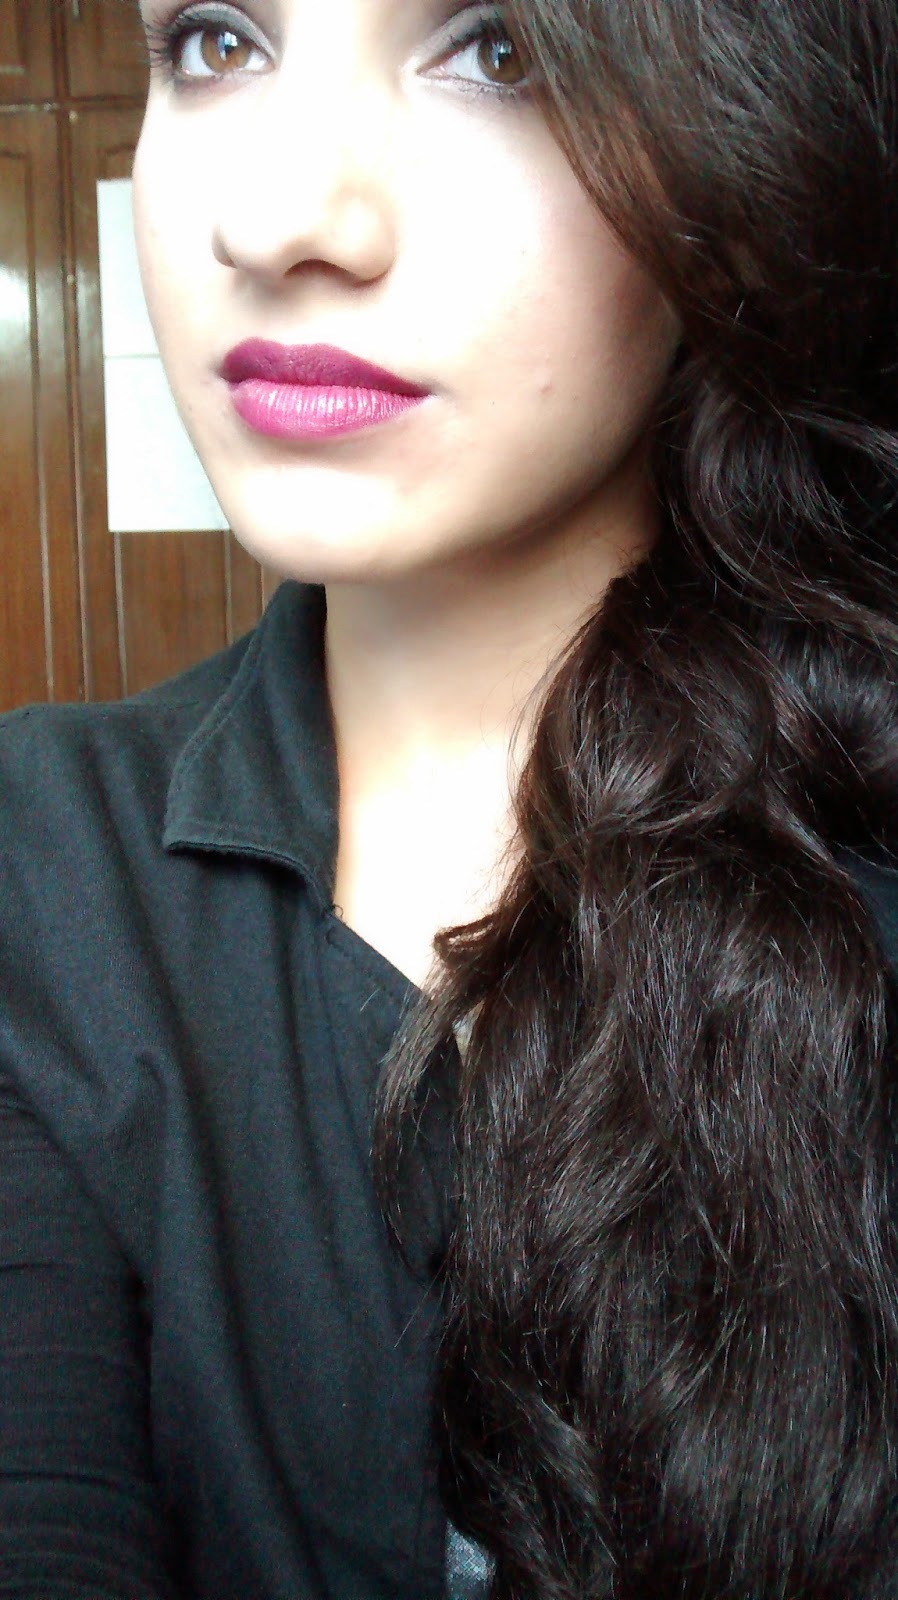
18. Next I took a deep plum lipstick and mixed it with a mauve lipstick to get a deep berry/deep purple sort of color. I totally loved the color as it really worked well for my complexion. My eye color pops out beautifully against it.
19. Finish off with a big smile :)

Here is the final look.
Let me know your thoughts about this look. Also, what lip color are you girls loving ATM?

Wednesday, June 4, 2014

Green Glittery Eyes with Nude Lips

Hey Lovely Ladies!!

Sorry for MIA. I was down with typhoid- 2 weeks of high fever, body pain, headaches, lots of medicines and what not. I am finally recovering but still feel very weak but definitely a lot better.

Anyhow, I tried a green smokey eyes look few weeks back and here I am sharing the details with you. Hope you guys like it.

Steps:

1. Start with a clean and moisturized face. (I used Olay Natural white in Light. This product is amazing. Will review soon)
2. Prime your eyes first. I used Garnier tinted roll on.
3. Apply a black eye shadow or black kohl all over your lids (I used Lakme Kajal). This is to create a base for the green eye shadow as the green that I have is not intense enough. So, I used a black one in the base to make the green color more intense.
4. Now apply your green eye shadow all over the lids.
5. Use a brown eyeshadow on the crease for blending the green eyeshadow.
6. Take the black eyeshadow and use it on the outer corner of the eyes. Create a V for defining the eyes and blend the color properly with the green and brown eyeshadows.
7. I then took some silver glitter and applied over my lids. (I used Maybelline 3D eyeliner in 07)
8. Now, take a black kohl and apply it on your upper lash line. Smudge the kohl for a smokey effect. Try to remain as close to the lash line as possible. Also, tight line your eyes.
9. Now take the same brown eyeshadow and apply it on your lower lash line, followed by the green eyeshadow. Smudge both the colors properly.
10. Now take a black kohl and lightly line your lower lash line (I used Maybelline Collossal). Again, smudge the kohl for a softer smokey effect.
11. Apply generous coats of mascara.(I used Lakme Eyeconic Mascara)
12. Take any highlighter or any pearly eyeshadow and highlight your brow bone and inner corner of the eyes.
13. Fill in your brows.
14. Apply concealer under your eyes and follow with a BB cream or any foundation. (I generally use Ponds BB cream but could not find it, so I used Lotus Safe Sun 3-in-1 Matte Look Daily sun block, since it is tinted.)
15. Use a bronzer to add warmth to your face.
16. Finally, apply any nude lipstick (I mixed coloressence's Nude suede with Oriflame Vivid lipstick in Baby Beige).


Love
Kanika